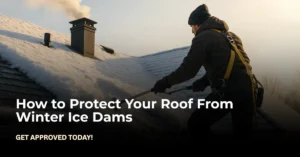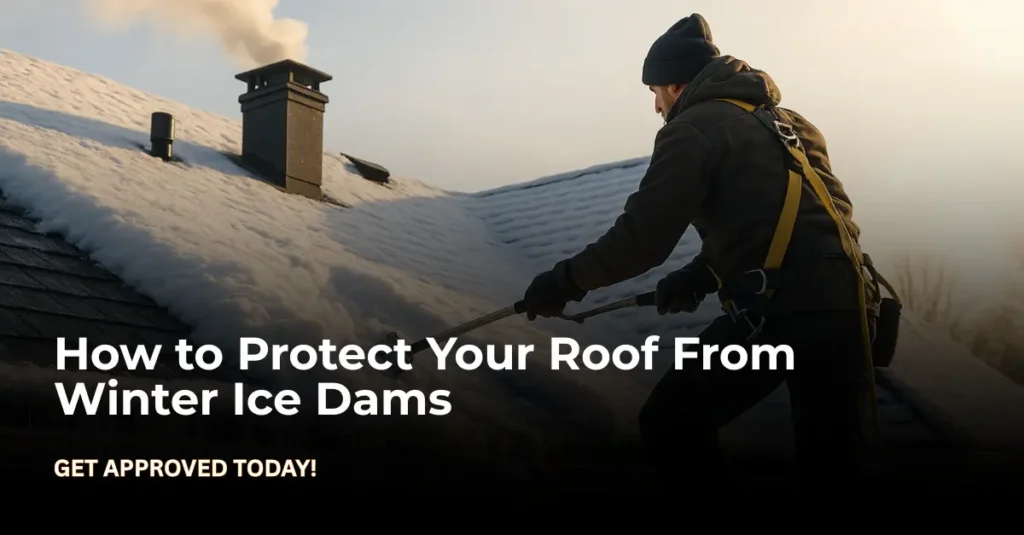
Roof safety becomes critical in winter due to increased snow accumulation, ice buildup, and structural stress. These conditions elevate risks for leaks, roof collapse, and water infiltration, especially in areas with heavy snowfalls.
What does winter roof safety involve?
Winter roof safety involves:
- Preventing snow pressure from weakening roofing structures.
- Managing ice dams and meltwater.
- Complying with local building code requirements.
- Maintaining roof slope and drainage integrity.
- Securing residential roofs against freezing damage.
What are the main seasonal hazards?
- Ice accumulation at roof edges
- Meltwater refreezing in gutters
- Roof damage due to repeated freeze-thaw cycles
- Reduced home safety from falling icicles or leaks
Next, we explore how ice dams form and why they pose a major risk to your roof’s health.
The Science Behind Ice Dams and Roof Safety
How do ice dams form?
Ice dams form when warm air from your attic melts snow on the upper roof, which then refreezes near the colder roof edges. This blocks drainage and creates heavy ice buildup.
Cause | Effect |
Attic heat escape | Snow melts unevenly |
Roof edges stay cold | Meltwater freezes at eaves |
Blocked gutters | Water backs up under shingles |
What factors contribute to ice dam formation?
- Attic heat loss due to poor insulation.
- Inadequate attic ventilation disrupting thermal balance.
- Gutter blockages from snow and ice.
- Roofs with low slope or inadequate drainage design.
How does this threaten roof safety?
- Causes roof insulation damage.
- Promotes shingle lifting and leaks.
- Leads to structural decay and interior ceiling stains.
- Increases load stress on the roof structure.
In the next section, we’ll identify the visible warning signs that your roof is at risk from ice dam damage.
Identifying Roof Safety Risks Caused by Ice Dams
What are early warning signs of ice dam damage?
- Water stains on ceilings or walls.
- Peeling paint around window frames.
- Large icicles hanging from eaves.
- Frost inside the attic on nails or wood.
What structural damage can ice dams cause?
- Shingles loosen due to trapped moisture.
- Roofing nails rust or show frost lines.
- Soffit vents clog, disrupting attic airflow.
- Moisture penetration leads to mold and insulation loss.
What should you inspect indoors?
- Ceiling leaks or bubbling paint
- Drafts or cold spots from air leaks
- Signs of mold or mildew growth in attic corners
Next, we’ll guide you through a complete winter roof inspection checklist to improve your seasonal readiness.
Roof Safety Inspection: Your Winter Readiness Checklist
How can you inspect your roof for winter readiness?
Use this roof safety checklist to ensure your home is prepared for snow:
✅ Roof Inspection Checklist
- Inspect Flashing – Check seals around chimneys and vents for damage.
- Clean Gutters & Downspouts – Ensure proper drainage.
- Examine Shingle Adhesion – Look for curled or missing shingles.
- Check Attic Ventilation – Confirm soffit and ridge vents are open.
- Review Insulation Coverage – Verify attic floor has adequate R-value.
- Test Roof Slope Drainage – Observe runoff pattern during rain.
- Install Gutter Guards – Prevent clogging and icicle formation.
Should you hire a roofing contractor?
Yes, for a professional roof audit, especially before harsh weather. They’ll assess structural load handling, flashing integrity, and slope drainage efficiency.
Next, we explore proactive actions to stop ice dams from forming in the first place.
Preventing Ice Dams: Core Roof Safety Strategies
🛠️ Effective Ice Dam Prevention Steps
- Use a Roof Rake—Pull snow off your roof after storms.
- Install Deicing Cables—Prevent meltwater from freezing at eaves.
- Improve Attic Insulation—Stop heat from escaping into the roof deck.
- Upgrade Ventilation—Add ridge and soffit vents to balance airflow.
- Seal Air Leaks—Use foam to block heat leakage from living spaces.
How do these methods increase roof safety?
- Maintain consistent attic temperature
- Prevent thermal gradients on the roof
- Reduce the risk of meltwater refreezing
- Enhance long-term home roof safety
In the next section, we explain how proper insulation and ventilation work together to form the foundation of winter roof safety.
Insulation and Ventilation: The Foundation of Roof Safety
Why is attic insulation critical for winter roof protection?
Insulation with a high R-value reduces attic heat escape. This limits snowmelt on the roof and prevents ice dam formation.
How does attic ventilation protect your roof?
- Supports airflow path from soffit vents to ridge vents.
- Enables moisture escape and reduces condensation risk.
- Balances heat transfer, keeping the roof deck cold.
Feature | Function |
Soffit vents | Pull in cool air |
Ridge vents | Release warm air |
Radiant barrier | Reflects heat back into living space |
How much ventilation is enough?
Follow the 1:150 attic vent ratio—1 square foot of ventilation for every 150 square feet of attic floor space.
Next, we’ll cover the safety equipment and tools homeowners need to stay safe while managing their winter roofs.
Roof Safety Equipment and Tools for Homeowners
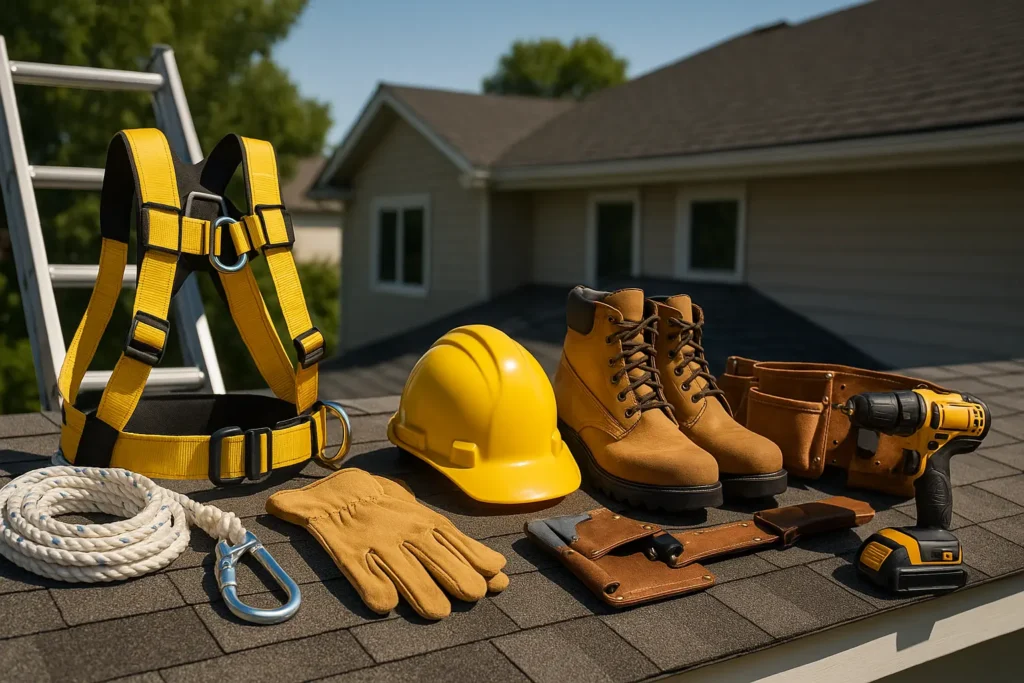
🧰 Essential Winter Roof Safety Tools
- Roof Harness & Tether Anchors—Prevent falls during roof work.
- Roof Rake with Extension Pole—Clear snow safely from the ground.
- Non-slip Ladder with Stabilizers—Maintain grip on icy surfaces.
- Snow Guards—Stop sudden snow slides from sloped roofs.
- Heated Cable—Melt ice along gutters and roof edges.
Why is safety gear non-negotiable?
- Reduces fall risks
- Prevents slips on icy roofs
- Ensures safe snow removal without damaging shingles
Now, we’ll weigh the pros and cons of DIY vs hiring professionals for winter roof care.
DIY vs. Professional Roof Safety Measures
When is it safe to handle roof issues yourself?
DIY is suitable for:
- Light snow removal with a roof rake
- Basic attic insulation checks
- Gutter cleaning with proper ladder safety
When should you hire professionals?
- Heavy snow or ice removal
- Roof shingle replacement or flashing repairs
- When roof slope or height increases risk
Task | DIY or Professional? |
Roof raking | ✅ DIY |
Ice dam removal | ❌ Pro |
Flashing repair | ❌ Pro |
Insulation upgrade | ✅/❌ Mixed |
What are the risks of DIY roof work?
- Ladder falls
- Roof punctures
- Voiding roof warranties
Next, learn what to do immediately if ice dams have already formed on your roof.
Emergency Roof Safety: What to Do if Ice Dams Form
What’s the safest way to remove ice dams?
- Use calcium chloride in pantyhose to create melt channels.
- Avoid chipping ice with tools—it damages shingles.
- Apply heat cables to melt key areas slowly.
Should you shovel the roof?
Only if snow depth exceeds safe snow load tolerance (around 20-30 lbs per square foot). Use a roof rake from the ground when possible.
When to call a professional?
- If water is leaking indoors.
- When ice buildup is severe or unreachable.
- If attic damage or mold is present.
Next, we’ll compare how different roof materials perform under winter conditions.
Roof Materials and Their Winter Safety Performance
🏗️ Winter Roofing Material Comparison
Material | Winter Performance | Pros | Cons |
Asphalt Shingles | Moderate | Affordable | Ice dam prone |
Metal Roofing | Excellent | Snow sheds easily | Noisy |
Rubber Membrane | Good | Seamless | Less aesthetic |
Clay Tile | Poor | Durable | Heavy, brittle in freeze |
What factors affect winter performance?
- Surface friction (affects snow sliding)
- Thermal expansion
- Material contraction
- Snow load rating
Next, see how much roof safety improvements may cost and what upgrades offer the best ROI.
Cost of Roof Safety Improvements
💰 Roof Safety Upgrade Cost Estimates
Upgrade | Average Cost (USD) |
Attic Insulation (R-49) | $1.50–$3.50/sq ft |
Deicing Cable System | $500–$1,200 |
Soffit & Ridge Vent Install | $300–$900 |
Roof Rake Tool | $50–$150 |
Snow Guard Installation | $400–$700 |
Are these upgrades worth it?
Yes. Proper insulation and ventilation improve energy efficiency and protect against costly repairs. Many offer a strong return on investment in both comfort and structural safety.
Now let’s look at how to build a long-term roof safety strategy for future winters.
Long-Term Roof Safety Plan for Winter Preparedness
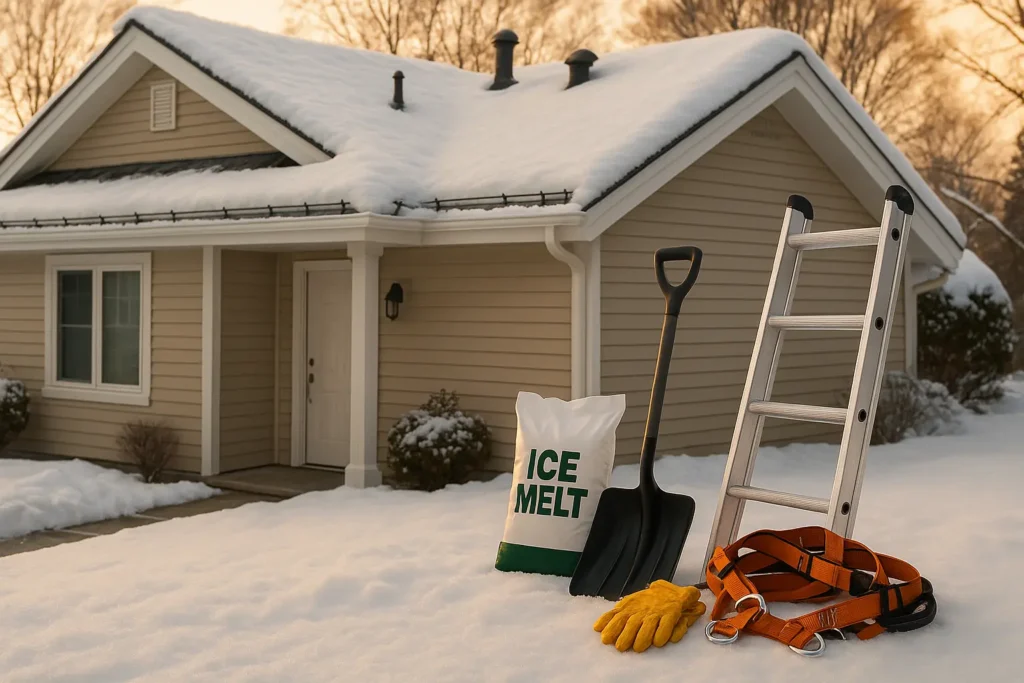
📅 Annual Roof Safety Plan
- Fall (Oct–Nov): Pre-winter roof inspection and gutter cleaning.
- Winter (Dec–Feb): Monitor snow load; use rakes or cables as needed.
- Spring (Mar–Apr): Check for leak signs or shingle damage.
- Summer (May–Sept): Upgrade insulation, install vents or guards.
Why is consistency important?
Proactive, scheduled maintenance prevents expensive emergencies. Use a roof inspection calendar and keep a homeowner checklist for seasonal upkeep.
Let’s finish with a few expert FAQs that address the most common roof safety concerns.
✅ FAQs About Roof Safety and Ice Dam Prevention
Roofs can typically handle 20–30 pounds per square foot. Wet snow weighs more than dry snow. Exceeding this snow load risks structural collapse.
Hire a pro if the ice dam is large, unreachable, or leaking. DIY removal risks roof damage and personal injury.
No. Insulation helps, but balanced ventilation and sealing air leaks are also essential to prevent heat buildup.
Yes. Metal roofs shed snow easily, preventing ice buildup. They’re also less prone to leaks from ice dams.
Use a roof rake with a telescoping pole from the ground. Never climb a snow-covered roof.
Want More High-Quality Roofing Projects on Long Island?
G&V Roofing delivers trusted craftsmanship, reliable service, and local expertise that turns property owners into lifelong clients—all from one professional source.
Our Services:


Learn About:


🏡 Looking to Upgrade Your Roof or Protect Your Property Investment?
Whether you’re a homeowner looking for reliable roof solutions or a property manager seeking fast, expert repairs—G&V Roofing is your go-to Long Island partner for long-lasting protection and peace of mind.
 Follow Us for the Latest in Roofing Care, Property Protection & Home Improvement:


